Interior painting is much more than merely applying a new coat of paint to your walls—it’s an art form that transforms your living space into a vibrant expression of your personality and lifestyle. Whether you’re repainting a single room or your entire home, this guide is designed to help beginners navigate the process of interior painting from start to finish. With detailed explanations on surface preparation, essential techniques, and troubleshooting common challenges, you’ll gain the confidence to create a professional-looking finish that truly reflects your style.
Discovering the Essence of Interior Painting
Before you begin, it’s important to understand what interior painting means to you. Beyond just aesthetics, painting is a powerful tool for setting the tone and mood of your living space:
- Emotional Impact: Colors have a profound influence on how a room feels. Cool hues, such as blues and greens, can create a calming and serene environment—ideal for bedrooms and bathrooms—while warm colors like red, yellow, or orange can inject energy and vibrancy into social spaces like living rooms and kitchens. Consider the atmosphere you wish to establish and how color can help achieve that emotional impact.
- Personal Expression: Your home is a canvas that reflects your personality. The colors and techniques you choose can showcase your individual style and taste. Whether you prefer a modern minimalist look or a more eclectic, artistic approach, let your personal aesthetic guide your decisions. Create a mood board filled with images, fabric swatches, and paint samples to visualize your desired outcome and serve as inspiration throughout the project.
Thorough Preparation: The Foundation of a Successful Project
A flawless paint job begins with meticulous preparation. This stage is critical, as even the best painting techniques cannot cover up poorly prepared surfaces.
- Cleaning and Repairing: Start by thoroughly cleaning your walls to remove any dust, grease, or old paint residue. Use a mild detergent mixed with water and a soft cloth or sponge to ensure that your surfaces are as clean as possible. Inspect the walls for imperfections such as holes, cracks, or areas with peeling paint. Fill any imperfections with spackle or filler and sand the surfaces until they are smooth and even. This step is essential to prevent bumps and ridges that can affect the final appearance.
- Priming: After repairing and sanding, always apply a high-quality primer. Priming is especially important when transitioning from darker colors or working on unpainted surfaces. It improves the adhesion of the new paint and helps the true color to appear uniformly and vibrantly. Allow the primer to dry completely, as skipping this step might lead to uneven coverage or peeling later on.
- Tool Organization: Gather all your supplies and tools in one place before you begin painting. Having quality brushes, rollers, painter’s tape, sponges, and drop cloths organized and within reach minimizes downtime and ensures a smoother workflow. A well-prepared workspace not only speeds up the project but also reduces the risk of accidents and mistakes.
Essential Techniques for Novice Painters
Mastering a few key techniques will set you on the path to professional-quality results:
- Cutting In: The first step in any painting project is “cutting in” along the edges, corners, and around fixtures. Using an angled brush, carefully outline areas that require precision. This includes painting around windows, door frames, and moldings. A steady hand during this step creates clean lines that serve as guides for the roller application.
- Rolling Method: For covering larger areas, a roller is your best friend. When using a roller, employ the “W” or “M” technique. This method involves applying the paint in overlapping strokes to ensure even distribution. It helps to prevent visible lines or streaks, creating a smooth and uniform finish.
- Layering: Instead of applying one thick coat, use several thin layers of paint. Allow each coat to dry completely before applying the next. This gradual buildup minimizes the risk of drips and uneven textures. Layering also enhances the richness of the color, ensuring that the final finish is vibrant and long-lasting.
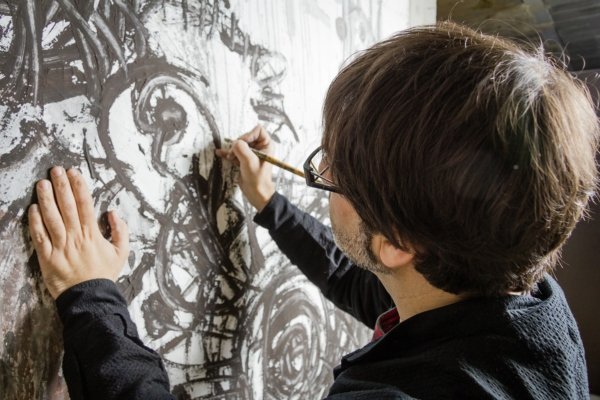
- Adding Texture and Effects: Once you’re comfortable with the basics, experiment with additional techniques like sponging, rag rolling, or dry brushing. These methods can add subtle textures and visual interest to your walls. They are particularly useful when creating accent walls or adding decorative touches that make your space unique.
Managing Challenges and Ensuring Longevity
Every painting project has its challenges, but with patience and proper technique, you can overcome them:
- Drips and Brush/Roller Marks: One of the most common issues is the appearance of drips or visible marks from brushes and rollers. To prevent this, avoid overloading your tools with too much paint and apply it with a controlled, steady hand. If drips occur, allow the paint to dry before lightly sanding and touching up the affected area.
- Drying Time: Respect the drying times recommended by the paint manufacturer. Rushing through the process by applying the next coat too soon can lead to imperfections and a compromised finish. Each layer must have sufficient time to set before the subsequent layer is added.
- Regular Evaluation: Throughout the painting process, take time to step back and evaluate your work. Regular inspections help you identify areas that may need extra attention or touch-ups. This proactive approach ensures that your finished project is consistent and flawless.
- Long-Term Maintenance: After the painting is complete, maintaining your walls is essential for longevity. Regularly dust and clean the surfaces, and address any chips or marks promptly to keep your work looking fresh and vibrant for years to come.
Final Tips for Adding Your Personal Touch
Your home should be a reflection of who you are. Infuse your personality into your painting project with these tips:
- Focal Points and Accents: Create eye-catching focal points by using contrasting colors or subtle patterns. Accent walls or decorative borders can highlight architectural features and add depth to your room.
- Seamless Integration with Décor: Ensure that the colors and techniques you choose complement your existing furniture and accessories. A harmonious blend between the painted surfaces and your décor can elevate the overall aesthetic of your home.
- Controlled Experimentation: If you’re interested in trying new techniques or color combinations, test them on a small, inconspicuous area first. This controlled experimentation allows you to refine your approach without risking the entire space.
Concluding Your Creative Journey
Interior painting is an ongoing journey of learning and creative expression. With careful planning, thorough preparation, and a commitment to refining your techniques, you will gradually build the confidence to innovate and transform your living space. Every brushstroke is an opportunity to express your unique style and create a home that truly reflects your personality.
In summary, The Art of Interior Painting: A Guide for Novices provides a comprehensive roadmap to turning any room into a work of art. By embracing the fundamentals—from proper surface preparation and essential painting techniques to troubleshooting common challenges and adding personal creative touches—you can achieve a professional finish that stands the test of time. With patience, persistence, and passion for the craft, your home will become a canvas where every wall tells a story of style, comfort, and self-expression.